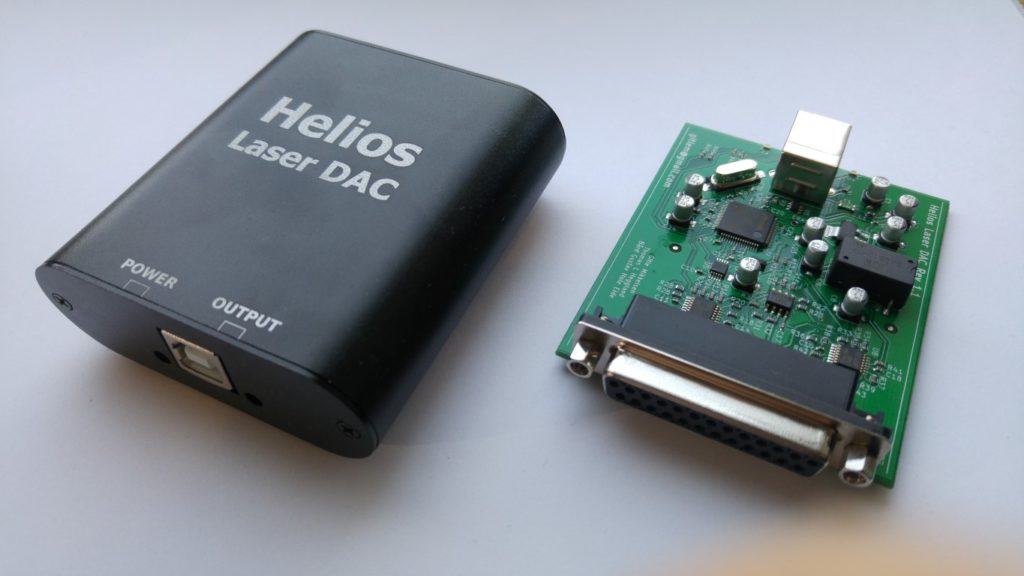
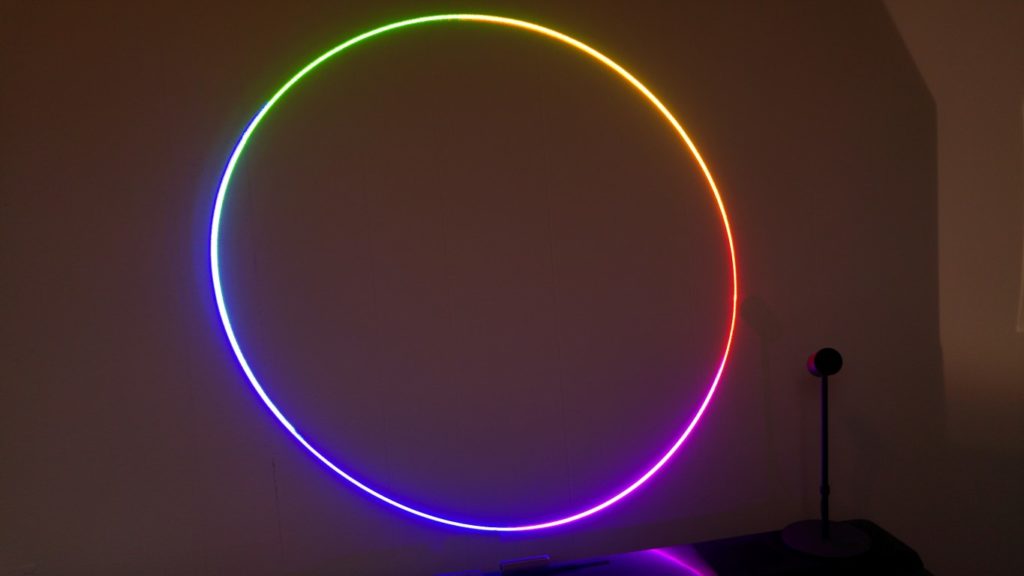
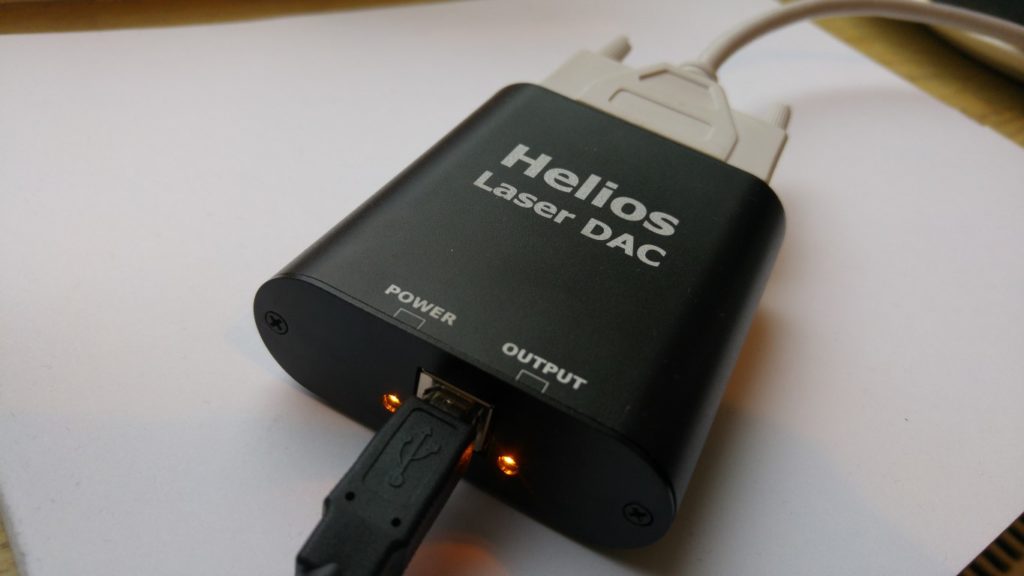
Helios Laser DAC is a USB to ILDA interface/adapter, used for connecting laser show projectors to your computer. It is inexpensive, yet fast and with high resolution.
It is compatible with every laser projector with a standard ILDA port, and connects to any computer using USB.
Buy
$109 via Bitlasers.com
Free international shipping
(ships from Norway or USA)
Also available from:
- Amazon (ships from USA)
- Ebay (ships from Norway or USA)
- Matrice Lighting (se envía desde Chile)
Software
Helios is compatible with a wide range of software, including free and cross-platform options:
- LaserShowGen (Windows, Mac, Linux, freemium)
- MadMapper / MadLaser (Windows, Mac)
- NEW: Liberation (Mac, Windows)
- Derivative TouchDesigner (Windows, Mac, freemium)
- Lasershow Xpress (LSX) (Windows)
- Spaghetti Laser Show (Windows)
- HE-Laserscan (Windows, freemium)
- Modulaser (Windows, Mac)
- Millumin (Mac)
- Lasercam (Windows)
- openFrameworks, via ofxLaser or ofxHelios (Mac, Linux, Windows*, free and open source)
- Pure Data, via pd_helios (Mac, Linux*, Windows*, free and open source)
- ILD Render (Windows)
- vvvv, via HeliosLaserDac node (Windows, freemium)
- OsciStudio (Windows, Mac)
- NEW: LaserFromSound VST (Windows, Mac)
- Maxwell (Windows, Mac)
- Laser Juice (Mac, Windows, freemium)
- LFI Player (Windows, free and open source)
- osc2laser (Mac, Windows*, Linux*, free and open source)
Both the hardware and the software of the Helios is open source. With cross-platform libraries, including example code in C++, C# and Python, it is easy to integrate the Helios into your own projects. There are also third party implementations, like laser-dac from Volst for Javascript (node.js), Paul van Dinther’s library for Javascript (WebUSB in the browser), or the helios-dac Rust crate.
OpenIDN Network add-on
Introduced in Februrary 2024, owners of the Helios Laser DAC can buy the OpenIDN Adapter to use their device over a network instead of just USB.
The Helios OpenIDN adapter is a small box with an Ethernet port, Wi-Fi antenna, and USB port. You can plug a Helios Laser DAC (sold separately) into the USB port, and then use either Ethernet (recommended) or Wi-Fi to reach the DAC from your software on the same network. This has advantages over USB connectivity, such as ease of managing more complex systems with numerous lasers far from each other and the control computer. The adapter acts as an IDN (ILDA Digital Network) server which forwards input sent to the IDN server to the Helios DAC. IDN is the next-generation open standard from the International Laser Display Association (ILDA) for streaming laser data to projectors.
Read more about the OpenIDN adapter here.
Specifications
- Max sample rate: 65.5 kpps
- X/Y resolution: 12 bit (4095×4095)
- Color and intensity resolution: 8 bit (16 million colors, plus intensity/brightness)
- Max frame size: 4095 points
- Low noise and distortion.
- 2 years warranty from purchase date.
- Shutter signal control.
- Custom, persistent naming of DACs, for multi-projector configurations.
- Open source hardware, firmware (non-commercial) and SDK (commercial use OK).
- Includes an USB cable.
- Easy firmware updating over USB.
- Platform portable: Uses libusb which supports Windows, Linux, macOS, Android, Web etc.
- Plug and play on most platforms.
- Connectivity: USB B female in, ILDA (ISP-DB25) female out
- Drivers are OLSC compatible
- Aluminium enclosure with anti-slip rubber feet.
- Lead-free RoHS electronics.
- Dimensions: 83 * 70 * 25 mm
- Power consumption: ~150mA (5V)
User guide
Windows
On Windows 8 or newer, drivers should automatically install when plugging the device in for the first time. No further action is needed, software should be able to detect and use the DAC right away. On older versions of Windows, you may need to manually install drivers for the DAC to work. To do so, follow these steps:
- Download and run Zadig: zadig.akeo.ie/.
- In the dropdown list, find “Helios Laser DAC”.
- Select WINUSB (should be default) as driver and click “Install Driver”
- You’re done, Helios should now be detectable and usable.
macOS
On Mac, like newer versions of Windows, you don’t need to install any drivers, the device should work right away if there is no existing kernel extension installed for the device.
Linux
To use the device without root privilege, you probably need to set up udev rules. See this page for more information: Linux udev rules setup documentation for Helios DAC.
Developer guide
Third party software integration
The GitHub repo contains libraries for integrating Helios support in your software. Navigate to the folder “sdk” to find the relevant code. You can choose to use the native Helios functions documented in HeliosDacAPI.h (Exported C-style functions that can be called from a number of programming languages) or HeliosDac.h (C++ class). There is also a C# (.NET) class, as well as examples in C++ and Python. The Helios DAC libraries are compatible with most operating systems, including Windows, Linux, Mac, Android, and more.
NEW: The main driver has been updated to include IDN support, an open standard protocol for networked lasers. This means that if you implement or update the Helios library in your application, you will also seamlessly enable support for any other network DAC using the IDN protocol, including the Helios OpenIDN adapter. NB: Other implementations, such as the C# or third party libraries, has not yet been updated with IDN support.
The driver depends on libusb. You can use the included binaries, or you can build your own. You can find the libusb source for that on their website, linked earlier in this paragraph.
Please do not hesitate to contact us if you have any questions or problems. We would love to help you implement support for the Helios in your software.
There are also third party implementations, like laser-dac from Volst for node.js.
Hardware and firmware modification
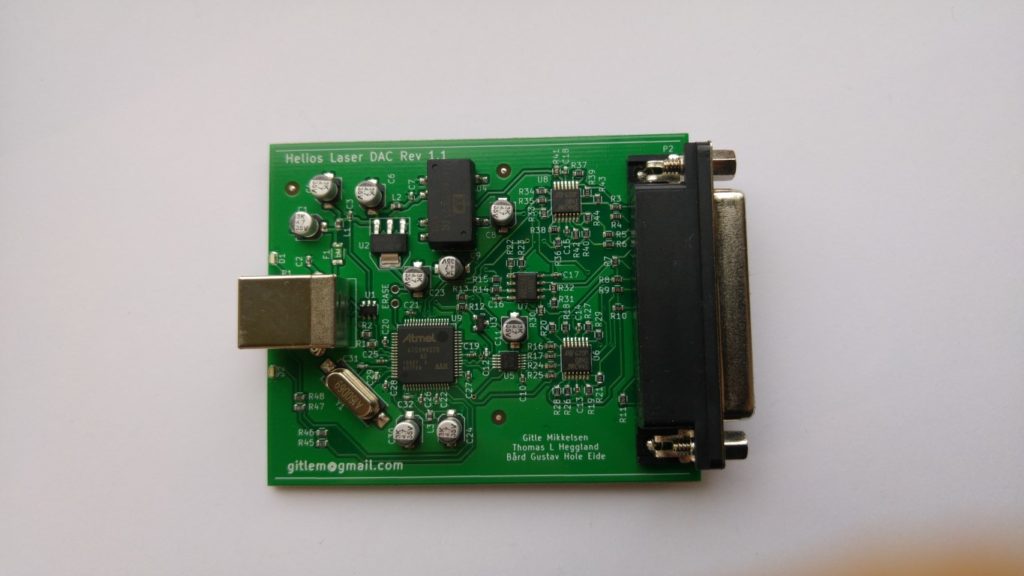
The hardware and firmware source are also found in the GitHub repository linked above. The PCB is drawn in Kicad. The firmware is written and built with Atmel Studio for the ATSAM4S-family microcontrollers. Note that the hardware is under a non-commercial license. This means that you are allowed to modify your own Helios or manufacture Helios DACs for your personal use, but you are not allowed to mass-produce and sell Helios DACs without permission.
New firmware can be uploaded to the device over USB. To do this, you must reset the “GPNVM1” bit in the flash memory, which will make the microcontroller boot to the SAM-BA bootloader. You can do this by sending a special interrupt packet to the DAC. You can then access the flash using Atmel’s SAM-BA software or BOSSA. There is an automatic tool for firmware updating, see the bottom of the User Guide section above.
If you have any questions, you can click the “Contact me” button in the corner of this site to e-mail me.
Updating firmware
The DAC may occasionally get firmware updates to fix bugs and add features. You can also create your own custom firmware if you require custom features. Here’s how to flash the firmware to the DAC:
- Download the firmware updating tool (only for Windows now, Mac/Linux coming): firmwareupdater_script.zip
- Unzip, plug in the DAC and run the file “flash.bat”.
- Follow the instructions on the screen (you will need to unplug and replug the device a couple of times).
Latest official firmware: v5 released on 2017-03-20. Updating is recommended if you bought your device before this date.


